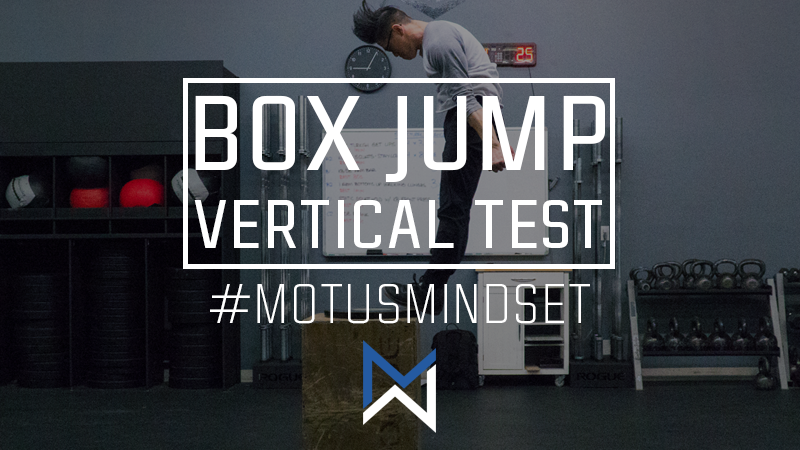
Don’t do this! Using a box to test vertical jump shouldn’t be an option let alone the last choice. Whenever choosing an exercise we have to look at the options for scaling (up/down), and lateralization then program the one that makes the most sense or not at all.
Vertical jump testing is sport specific, so if you’re thinking of programming it for your gym or client, here’s a link to my post about why you probably shouldn’t – BOX JUMPS DON’T MEASURE VERTICAL JUMP.
The first and most logical choice for vertical jump testing should be the Jump-and-Reach test. It’s easy to set up, perform, and it doesn’t require any equipment. There are other ways to measure and it’ll be beneficial to your clients for you know about them. With that in mind, if you have to use a box to test, you might as well do it correctly.
VARIOUS TESTING METHODS & EQUIPMENT
Knowing the different testing methods and equipment available can help us choose the best option for providing meaningful results. Listed below are only a few of the more common ones all with varying levels of accuracy.
The Jump-and-Reach Test (Sargent Jump Test) is the classic testing method. The jump height is calculated as the difference between the highest point an athlete can reach with one arm at the apex of their jump, and their standing reach with the same arm. This is the most simple and practical method of testing. The Jump-and-Reach Test can be executed using a wall or a Vertec system seen during the NFL Scouting Combines.
Contact mats generally only measure the amount of time an athlete is in the air from initial contact to landing. The jump height is estimated using the Time of Flight method.
Force plates are very expensive devices that can measure everything from flight time to the ground reaction force of each foot, and more. The most accurate vertical jump is provided by the force plates because they collect more precise data points, and jump height is calculated using the Impulse-momentum theorem.
It’s important to note that contact mats and force plates are not the same. They collect different amounts of data, can be used in combination with other devices, and are used for more than just calculating jump height.
The best method is the one that can be repeated, using equipment that can be afforded, and at the level of validity required for the population being tested.
TESTING STANDARDS & PROCEDURES
Establishing testing standards and the choice of procedures are vital to collecting dependable data. Consistency provides test repeatability, reliability, and comparability.
The protocol chosen for our testing purposes resemble jumps more naturally performed by the general and recreationally active population, and creates the best advantage for vertical displacement.
The jumping procedure is a two foot takeoff and landing from standstill, using a countermovement jump with a double-arm swing. Our aim is to measure the maximal height at which an athlete is able to displace their centre of mass to determine jump height.
HOW TO USE A BOX FOR VERTICAL JUMP TESTING
A couple small additions to the testing procedure will provide a more accurate measure of vertical displacement with a box jump.
The jumping procedure using a box is a two foot takeoff from standstill, using a countermovement jump with a double-arm swing, maintaining straight legs during the flight phase, and two foot landing on the box with straight legs.
The vertical displacement is calculated as the difference between the two foot straight-leg landing on the box, and the two foot straight-leg standstill from the ground. The height measured should equal the same if calculating the difference between the peak and start center of mass. The height of the box can now be used to measure the vertical jump height.
TESTING ACCURACY
As shown in the video, it’s certainly a more accurate measure of center of mass displacement as compared to the max height box jump that’s typically misused. The accuracy from this test is debatable because of some horizontal displacement, overestimation due to ankle dorsiflexion, and minor posterior pelvic tilt just to name the few obvious ones.
As compared to the max box jump, the reasons why this testing method is more accurate is because landing with straight legs forces the athlete to keep full extension of the hips and knees during the flight phase of the jump. Without the ability to flex at the hips and knees, the athlete isn’t able to rely on putting their feet over the elevated surface. The athlete must focus on the force of the jump to translate their whole body onto the box.
In order for the test to be a more true vertical jump test, the athlete cannot bend their knees or hips during the flight phase. The athlete is however, allowed some knee flexion upon landing after their feet have made contact with the box to decrease the impact forces on the knee joints.
AGAIN… DON’T DO THIS
Don’t be fooled because the risks for injury from this testing method are still the same as doing a max height box jump. Even progressively increasing box heights for adaptation to the odd landing sensation, and utilizing the benefit of decreased impact stress on joints from an elevated landing platform, the potential for knee and falling injuries still exist.
Lack of knee flexion upon landing means lack of hamstring contraction which leads to over-engagement of the quads. This could cause anterior translation of the tibia potentially putting the ACL at risk of injury.
The point of this post is say that there’s a right way to do things and there’s unnecessarily over complicated stuff on the internet. Just because an exercise or movement ability exists, doesn’t mean it’s bad (unless it’s subjectively terrible and stupid); it’s probably just not right for you, your client, their goals, or anyone alive on earth.
Chris Luu, SMT(cc), RMT, SFMA, CFSC, FRCms

